There is a right way to do something and a wrong way to do something. In this case, you need to know how to hang your valuable artwork so it stays intact and can be removed without difficulty.
To ensure the protection of your artwork, make sure you carry art safely in bags. Bags that are either designed as portfolios or backpacks offer protection for smaller sketches, art supplies, and sketch pads. For bigger pieces, you may need to use a solid foam material to protect the edges of the frames in which the artwork is placed.
When you are ready to hang your artwork, you first need to consider the space for the hanging. Therefore, you need to contemplate how your art will look in the intended space.
1. POSITION A SINGLE ART PIECE AT EYE LEVEL
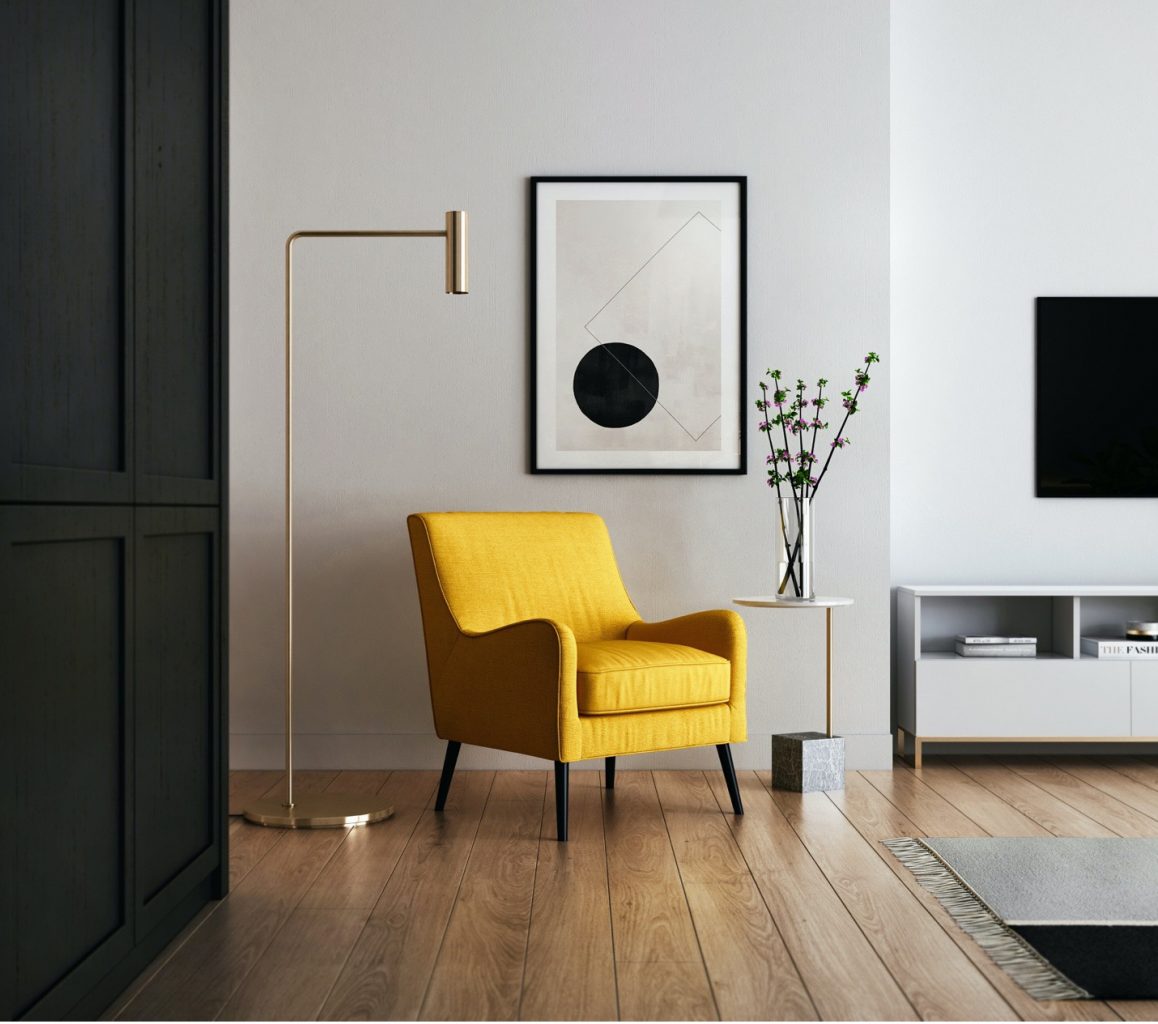
If you only have one piece of art to hang, always place it at eye level. The idea is to impress the viewer so they can consider the picture straight-on. In this instance, the magic number is 60 or 5, whether you are talking in inches or feet.
Plant your painting or sketch 60 inches from the center of the wall to the floor, or precisely 5 feet. When hanging the art over furniture, you should allow for about 5 inches of space. In this case 5 is the magic number for inches. If you plan to hang the art over a console or couch, it should be about two-thirds the width of the furnishing. Otherwise, it will look out of sync.
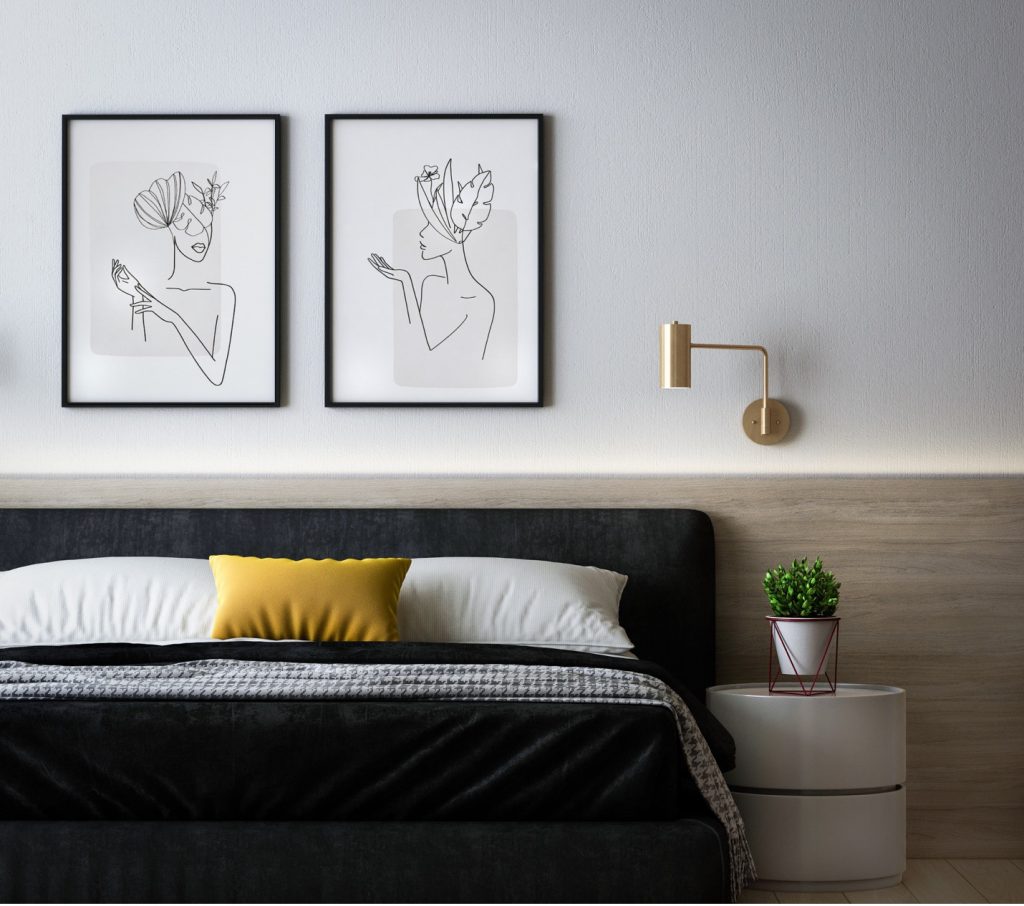
2. TREAT 2 OR 4 PIECES OF ART AS ONE PIECE OF ARTWORK
If you plant to hang two pieces of art, or even three or four, space them only a couple inches apart and hang them, again, 60 inches or 5 feet from the floor to the center of the artwork.
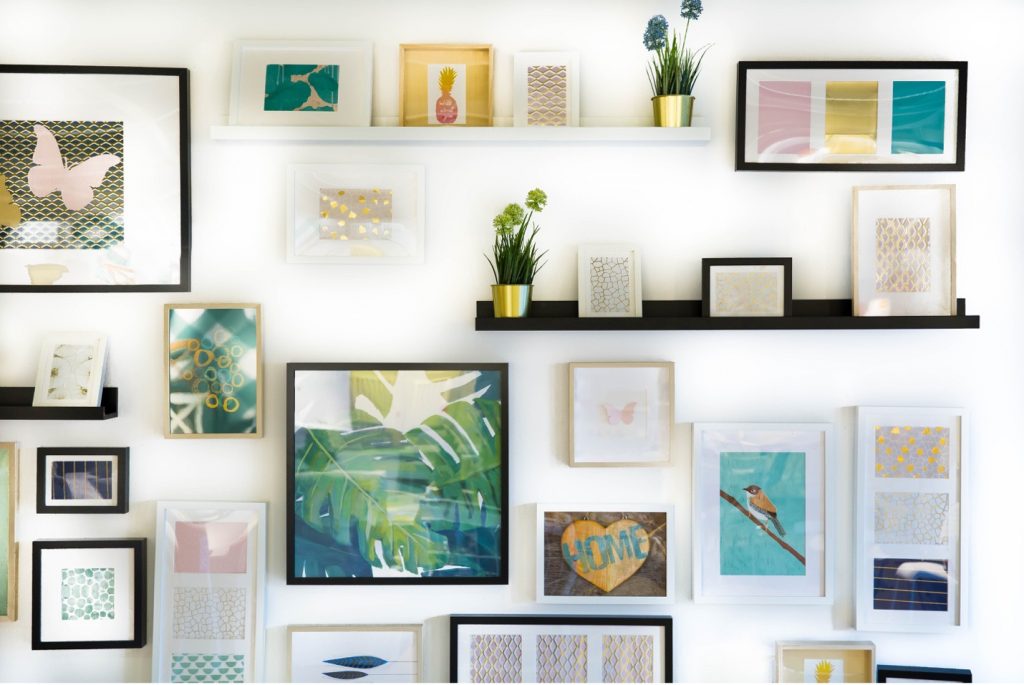
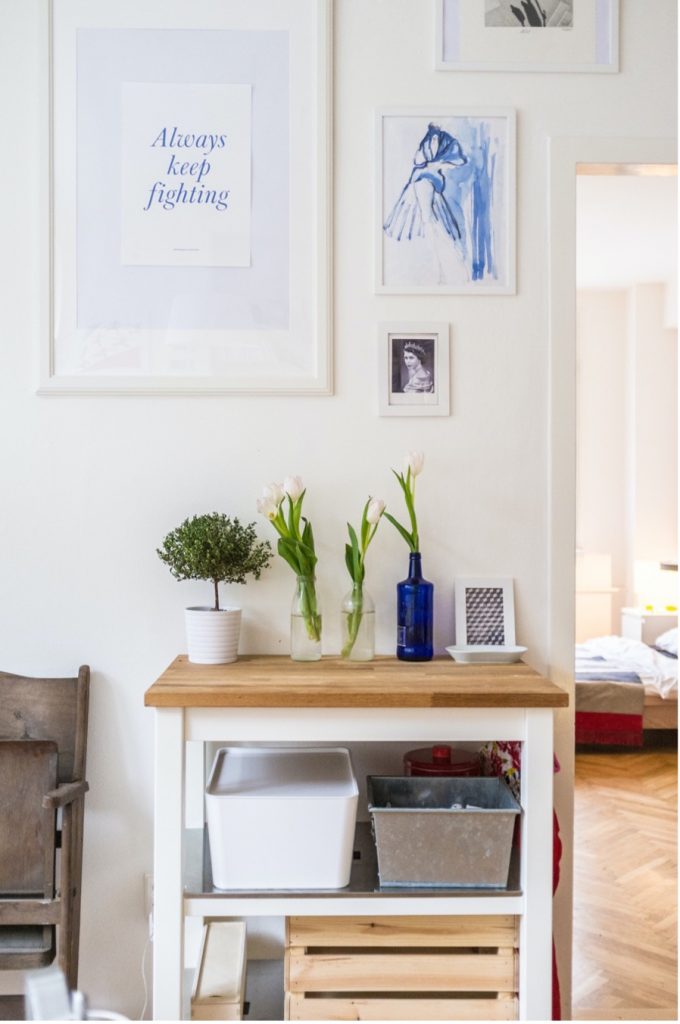
3. CREATE A GALLERY WALL THAT UNIFIES A CENTRAL THEME
If you are hanging a gallery wall, you want to use a grid of images or prints with a similar theme as well as frames that are consistent in appearance. The art might represent botanical prints or sketches or black-and-white photographs.
If you are so inclined, you may prefer to mix the looks of the frames for a more eclectic design. Place the art about 3 inches apart or smaller pieces about 2 inches from one another. To make the project simpler, trace the frames you will be using on paper first, then use painters’ tape to configure a layout on the wall before hammering holes for the art.
4. CONSIDER YOUR FRAMES
Besides knowing how to hang your artwork, you also have to review the frames. Prints and paintings look different, depending on the styles and material of the border. Frame designs and materials may include the following:
- Marble and brass
- Woven rattan
- Crafted leather
- Industrial brass
- Stitched leather
- Inlaid bone
5. USE A CORDLESS DRILL TO HANG ARTWORK ON BRICK
While it is a safe bet that you only need a hammer to hang a painting or print in drywall or a plaster wall, you will have to take a different approach if your art is being hung on brick.
If you choose a brick space, make sure you can do so, as some older homes or apartments may require that you to get permission to drill into exposed brick.
WHAT TOOLS YOU WILL NEED
Once you’re ready to proceed, you will need the following tools for hanging your artwork:
- A cordless drill (an essential tool)
- A Phillips head drill bit
- Masonry drill bit if hanging on brick
- A hammer
- Screws and anchors
- A level and tape measure
- A marker
GETTING IT DONE
1. FIGURE OUT WHERE YOU WILL DRILL THE HOLES FOR THE ANCHORS AND SCREWS
Use the marker to determine where your frame will affix to the wall. Center the mark so it is 60 inches, or 5 feet, from the ground. If you only have one small picture attached to a string, you only need to drill one hole. For a larger picture with D-rings or a cord, you need two screws to balance the picture and offer enough support. Use the level to ensure the holes you drill remain even.
2. DRILL THE HOLES AT THE MARKED SITES
Use the masonry bit and drill to make the holes for hanging your art. Make sure you drill each hole so it can hold and support the length of the screw. Drill slowly so you don’t overheat the tool. Take breaks, if needed, during the activity. After drilling the hole(s), remove the residue with a dry cloth.
3. TAP THE ANCHOR(S) INTO THE HOLES
Use the hammer to add the anchors so you can keep the screws in place.
4. DRILL THE SCREW(S) INTO THE ANCHOR(S)
When you drill the screw(s) into the anchor(s) leave about one-fourth inch to hang the cord or string for the artwork and frame.

5. HANG THE ARTWORK, MAKING SURE IT IS IN BALANCE
Finally, you want to tighten the screws in place. Make sure the art is in balance and is hanging at eye level, especially if it is hanging from a single string or wire.
If you don’t want to create holes in the brick, you might try adding clamps to the masonry. You can attach the clamps to hold your art without using any tools. Make sure you measure the size of the brick before you purchase the clamps, as they come in a variety of sizes.
6. USE OTHER TERNATIVES FOR DISPLAYING YOUR ART
- Besides using nails for hanging, you can also use picture-hanging strips known as command strips. These strips provide a great hold, whether your artwork is heavy or light. Plus, they won’t leave any traces when you remove the art.
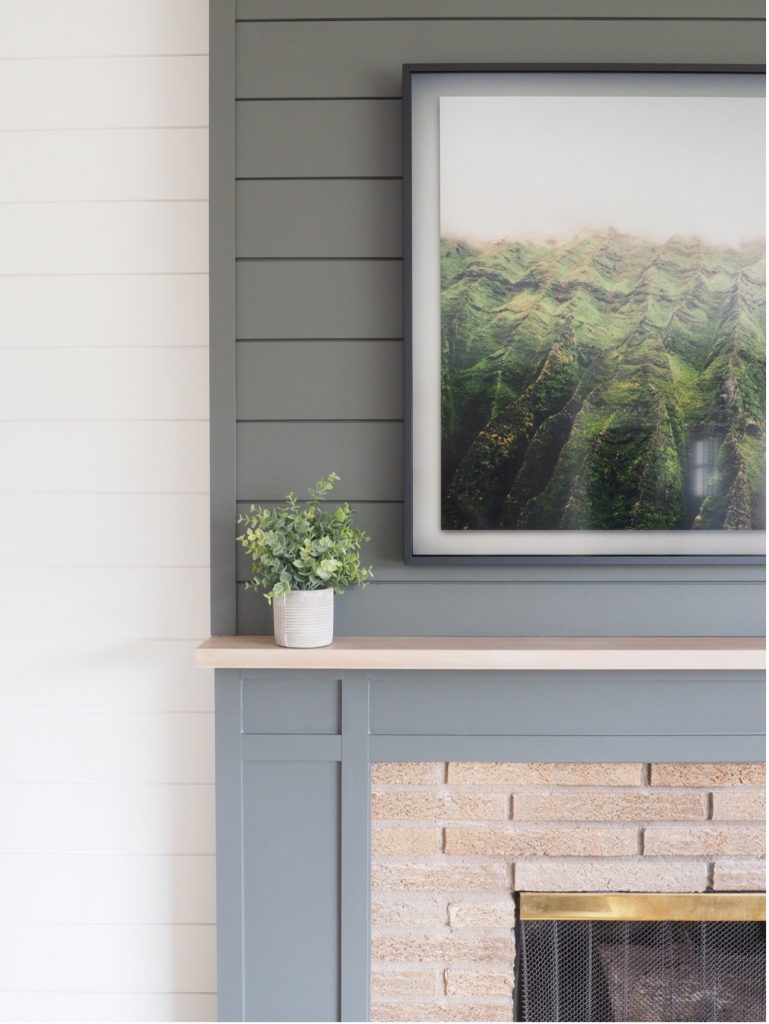
- You can also place art on the mantle over your fireplace. You might also think about filling in spaces in a bookcase with smaller pieces of art.
- Using an easel provides a nice way to display art as well.
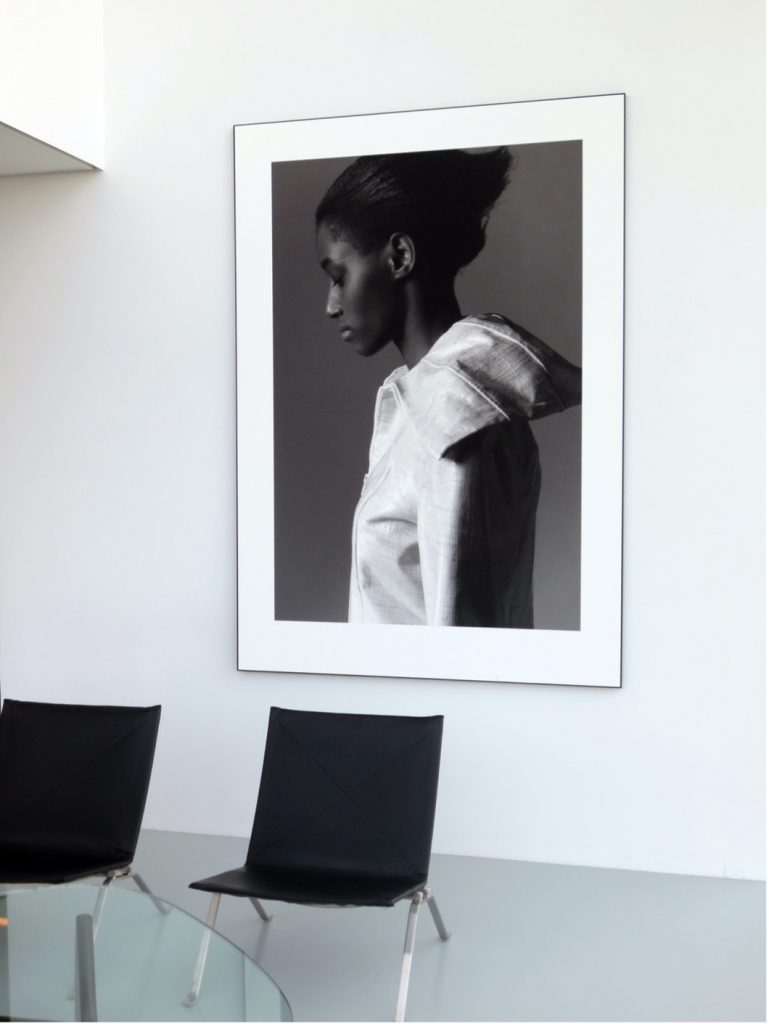
7. HANG A LARGER PICTURE AND FRAME IN A SMALLER SPACE
If you have a small space for hanging art, use a larger picture and frame. It is far easier to take this approach as it creates a focal point and makes hanging the artwork simpler too.
Author Bio:
Bari Syed has been involved with photography for the past 10 years and wants to share his knowledge with others.