Having perfect lighting in an art studio is more important than some may believe. It helps highlight the artwork, and it can even influence the success of the paintings and drawings. However, setting up the proper light in your art studio can turn out to be more difficult than expected. Finding the right intensity of light, or calculating the optimum angle to project it, for example, might be challenging. As a result, we’ve done some research on how to properly light your art studio to spare you from wasting valuable time. You can use that time to create more artwork, and we will show you which tools to use to make it stand out.
USING NATURAL LIGHT
In the ideal studio, natural light comes in through a north-oriented window and fills the entire room. However, in most studios, artists are grateful if they have any windows. Even if every artist had a well-positioned studio with plenty of windows, natural light might still be problematic.
Direct sunlight and the movement of the sun can influence the lighting of the room. Also, it can bounce through the room using the floor, walls, and ceiling and end up reflecting in the wrong spot. You could use some tricks to direct the light, but they will only work for specific times during the day. In the end, even if you do have great natural light, you will need to enhance it with an artificial one. That is why the best option is to work with both and make them complement each other.
THE ADVANTAGES OF ARTIFICIAL LIGHT
One of the primary benefits of using good artificial lighting is that you can work at any time of day or night. Furthermore, unless you want it to, artificial light will not lose intensity, move or bounce. You can choose to have warm or cold light, directed from above or below, dim or bright. The possibilities are numerous, and you only need to know which is the best combination for your art studio. After all, having too much light can be as harmful to your art studio as having too little. To assist you in finding the ideal mix, we will go over four factors to consider while using artificial light. They are:
- Temperature
- Color
- Intensity
- Angle
LIGHT TEMPERATURE
Different light sources have different temperatures that can be warm or cold. It is measured in degrees Kelvin and refers to the visual temperature produced by a light source. It can vary between 1000 and 10.000 degrees, and the barrier between warm and cold is at 5500K degrees. A candle flame, for instance, has a temperature of 1800K, while the light of a clear blue sky has a temperature of 10.000K. Most artificial lights in our homes, such as lightbulbs, have a Kelvin temperature between 2500 and 3000 degrees. Therefore, they would be inappropriate for use in an art studio, being too warm. As a result, choose something neutral, around 5000K, and it will be excellent. If it’s colder, your cool colors may be affected, causing you to warm them up more than necessary.
LIGHT COLOR
Depending on the temperature, the light you are using can have different colors. For instance, warmer light is yellow, orange, or red, while cold light is white or blue. The best way to choose the perfect light is to search for it based on the Color Rendering Index. CRI is the capacity of a light source to create light that resembles natural light. Natural daylight has a CRI of 100, so aim for anything higher than 80 when choosing lights for your studio. The higher you can find it, the better. In a word, if you want to know how to properly light your art studio, seek lights with 5000-5500K and a CRI of 98. With such a great light source, you can even create an art studio at your home.
LIGHT INTENSITY
The power and distance of the light source impact the intensity of light. The closer you bring the light source to your painting, the more intense the light and vice versa. At the same time, the more powerful it is, the more it illuminates. It can be great to have powerful enough light in your studio but, make sure you put the accent on enough. If you have too much, it might trick you into thinking that you should make your drawing or painting darker. For this reason, you can use the value scales of Watts and Lumens to choose the right light. Watts measure how much power the light source consumes, while Lumens measure how much light it produces. For example, an 85-watt lightbulb with a CRI of 90 and 5500K will provide around 5000 lumens. That is a clean, bright light that is perfect for working.
LIGHT ANGLE
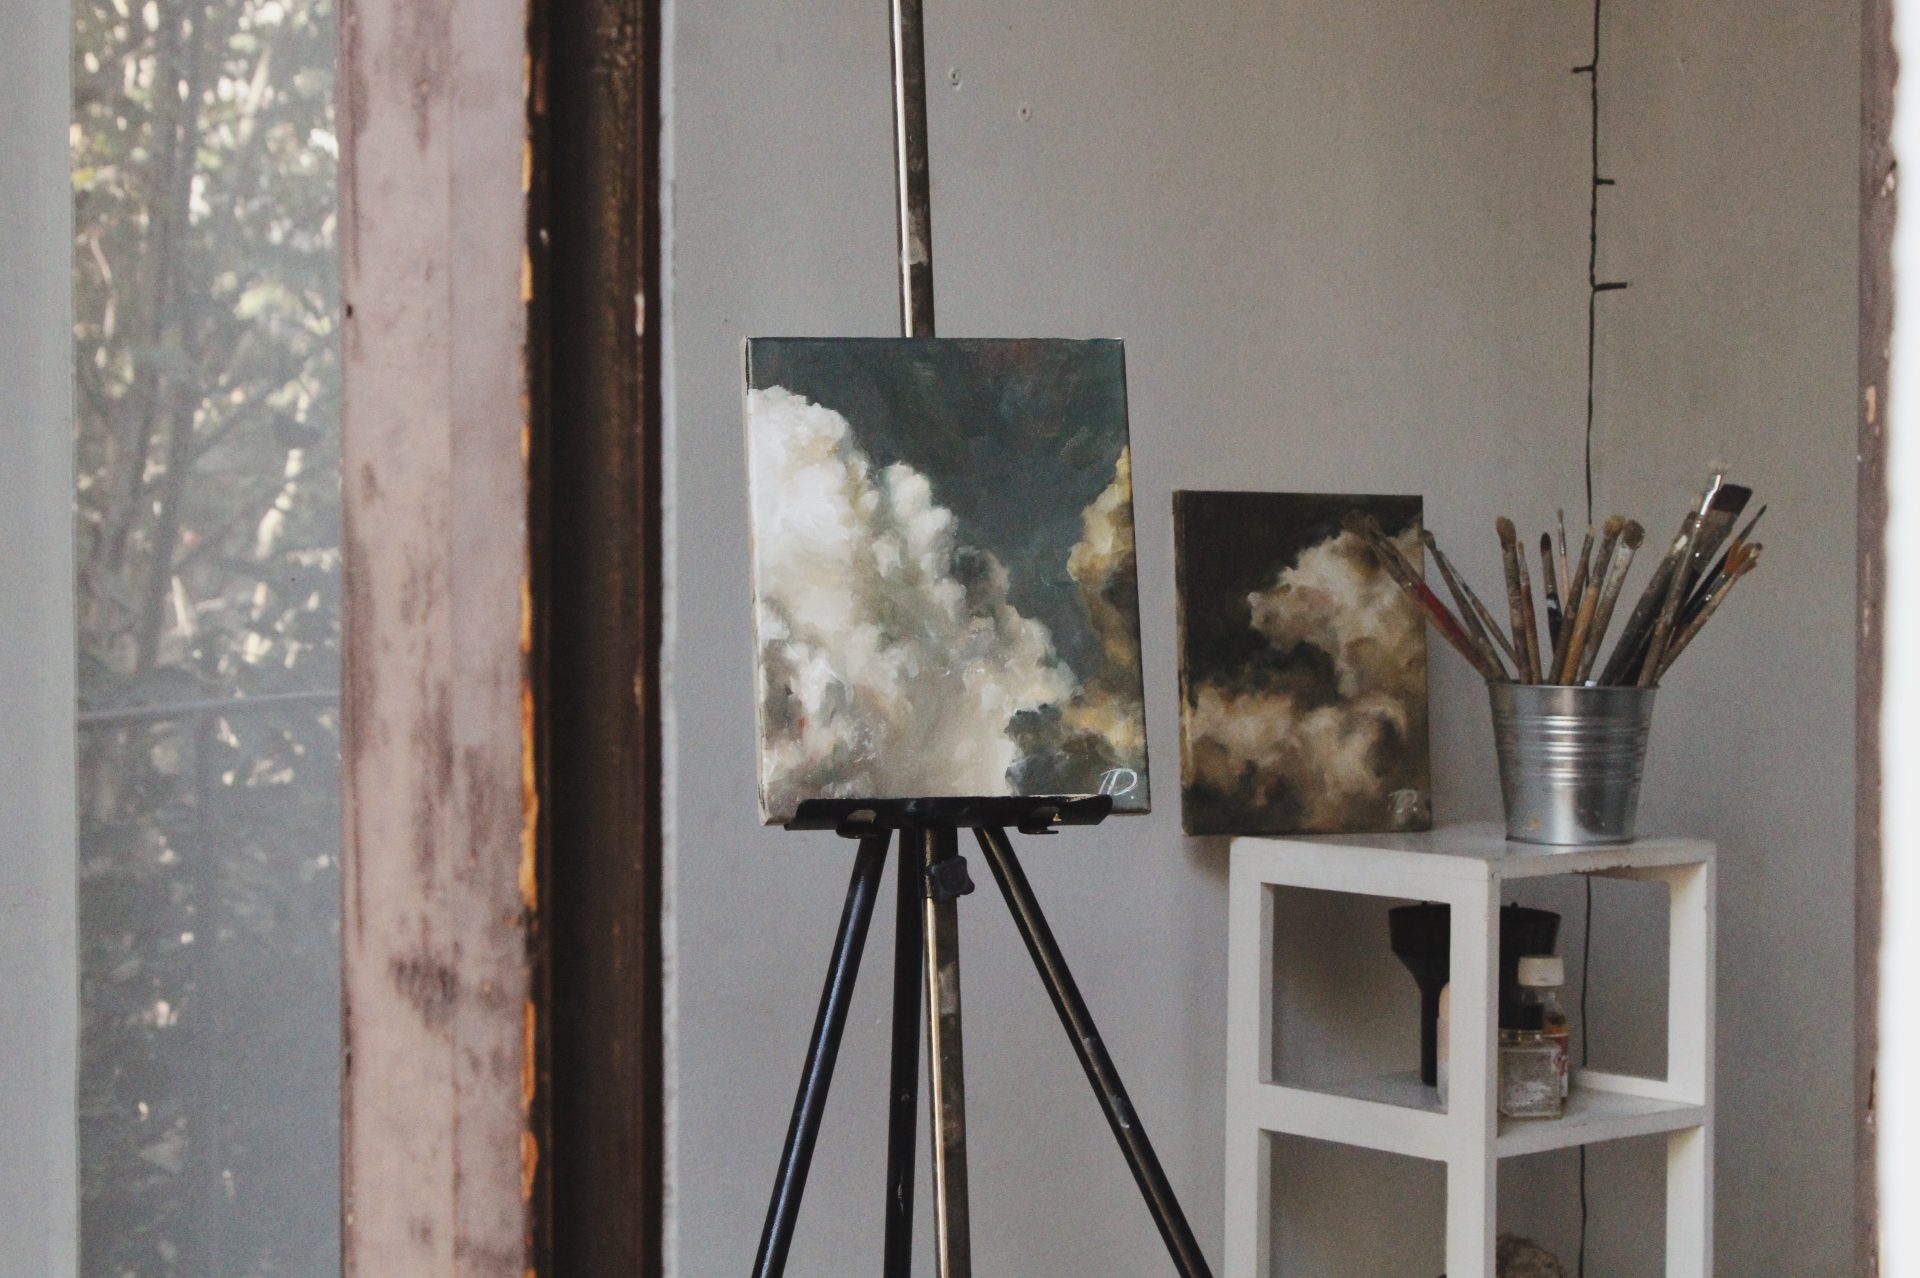
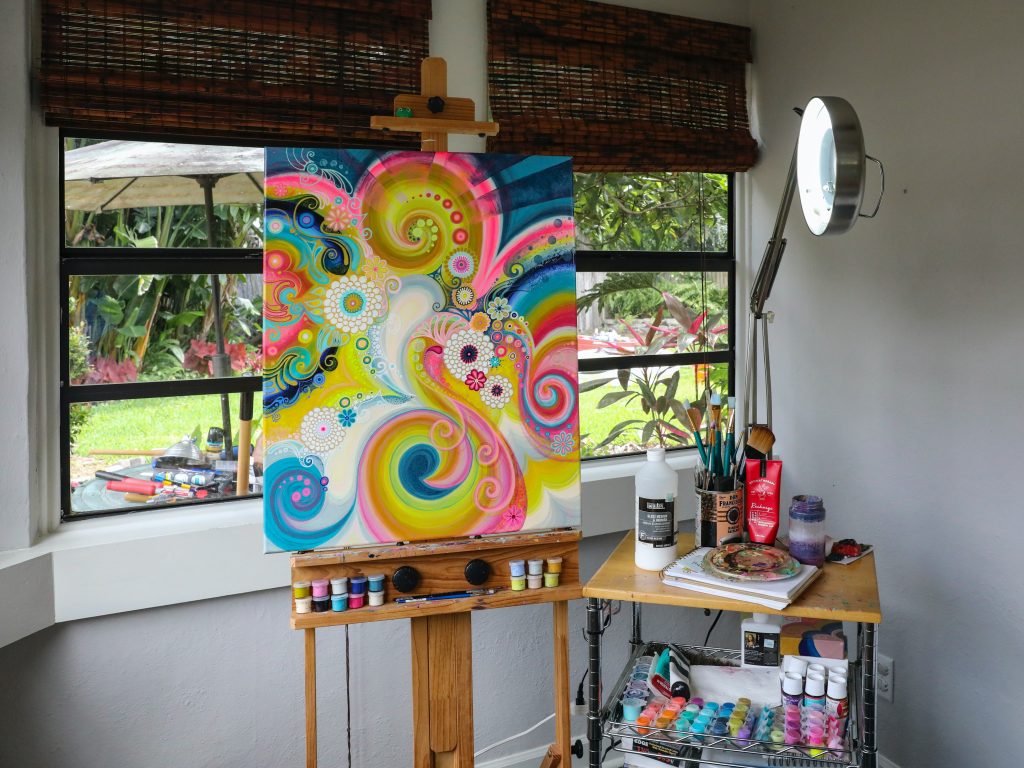
It’s also important to have light coming in from the right angle on your workspace. When working on an easel, the light should radiate from behind you at a 45-degree angle. That should help the light fall evenly and eliminate any poorly lit spots or glares. You can control the quantity and intensity of the light by placing the light source at the perfect distance. Not too far away to have insufficient light, but yet not too close. If you don’t have an adjustable light source, move your easel to the best-lit place. If you are working on a flat surface, the light should also come at a 45-degree angle. To achieve this, you can put light sources on both sides of your work desk. It will ensure the perfect distribution of the light and prevent reflection.
TYPES OF LIGHT AND LIGHT SOURCES
Now that you know how to properly light your art studio using light temperature, intensity, and angle, you need to know what types of lights there are. Hence, here are the four types of light and light sources that you can choose from.
- Because incandescent bulbs usually have a light on the warm side of the Kelvin scale, it is unsuitable for use in an art studio.
- Fluorescent light bulbs are long and tubular, and they distribute light pretty evenly. Their light is more on the cooler side of the Kelvin scale, so it is closer to natural light. Unfortunately, fluorescent lights need certain fixtures, which can be hard to set up.
- Compact fluorescent. These bulbs function similarly to fluorescent lights, although they appear more like incandescent bulbs. They may have a variety of light temperatures, making them an excellent choice for an art studio.
- This type of lighting is a great choice for photography studios. It has adjustable color temperatures and intensity, and it is known to last a long time. They are available in panels and strands, and they are simple to install.
CONCLUSION
As you can see, there are many factors to consider when you are setting up the light in your studio, from light temperature, color, intensity, and angle to types of light and light sources you can use. It may be tough to do it right the first time, and some options may be pricey, but the effort will be worthwhile. The quality of your art will improve, and you could even get accepted into a gallery. In the end, knowing how to properly light your art studio will only bring you benefits.
Author bio: Audrey Meyer has over ten years of marketing and communication experience and has worked in several sectors including marketing, advertising, and fashion. She is now working with Best Movers NYC to offer them an advantage when it comes to marketing and gaining the appropriate exposure.